
Ditch / Field notes
Convert Jobsite Photos to Dispute Ready PDFs in 6 Steps
Convert Jobsite Photos to Dispute Ready PDFs in 6 Steps
The fastest way to convert site photos to PDF is to capture images with visible overlays (date, time, GPS, project ID), organize them by project and area, then export through a documentation platform or a print-to-PDF workflow. EXIF-only photo files fall short here because that metadata often gets stripped during transfer. A defensible report needs the timestamp burned into the image itself, plus a chain-of-custody log tied to the export.
TL;DR:
- Photos must have visible overlays with date, time, GPS, and project ID to ensure traceability and defendability in disputes.
- Exported PDFs should include a metadata index, with original filenames showing timestamps and consistent folder organization by day and area to prevent data loss.
- Using native platform export or print-to-PDF preserves overlays and metadata better than just copying EXIF data, which is often stripped during transfer.
- Tagging and linking photos to RFIs, punch lists, and project records enhance the report’s context and reduce the risk of questioning during reviews.
- Automated tools like Ditch can organize, tag, and produce client-ready PDFs, saving time and maintaining data integrity throughout the documentation process.
Table of Contents
- Step-By-Step Workflow to Compile a Jobsite Photo PDF
- What Belongs on Every PDF Report Page
- Export Options That Keep Your Metadata Intact
- Capture and Metadata Practices That Hold Up Later
- Why Metadata-Rich PDFs Change How Disputes Get Resolved
- Turn Your Jobsite Photos Into Client-Ready PDFs With Ditch
- Sources
- FAQ
Step-By-Step Workflow to Compile a Jobsite Photo PDF
Before anyone picks up a camera, the report already needs a skeleton. Set the project ID, naming convention, and capture responsibilities so every photo lands in the right bucket from day one.
- Assign capture points and owners. Decide who shoots what area, on what schedule, and confirm everyone uses the same project ID format.
- Capture with visible overlays baked in. Use a documentation app that stamps date, time, GPS coordinates, and project ID directly onto the pixels, not just the file’s EXIF data.
- Organize by date, area, and trade. Group sessions the same way your punch list is structured so photos map cleanly to the work they document.
- Tag and caption for search. Add short, consistent tags (framing, electrical rough-in, exterior grading) so anyone can find a photo months later without scrolling.
- Export to PDF. Use a native export feature if your platform has one, or print-to-PDF from a viewer if it doesn’t.
- Run a verification pass. Confirm overlays are legible, filenames match the sequence, resolution holds up, and originals are archived separately.
A few things separate a usable report from a sloppy one:
- Filenames that still show the original timestamp, not a renamed “IMG_2043.jpg.”
- Consistent folder logic: one folder per day per site, subfolders by area or trade, following the naming discipline TruTec recommends.
- A photo count that matches your report’s page count, so nothing silently drops during export.
Pro Tip: Batch your captures by walking the same route every visit. Photos taken from consistent vantage points make progress comparisons and time-lapse pages far easier to build later.
What Belongs on Every PDF Report Page
A report only holds up under scrutiny if it’s consistent. That means a cover page with the basics and a repeatable template for every photo page that follows.
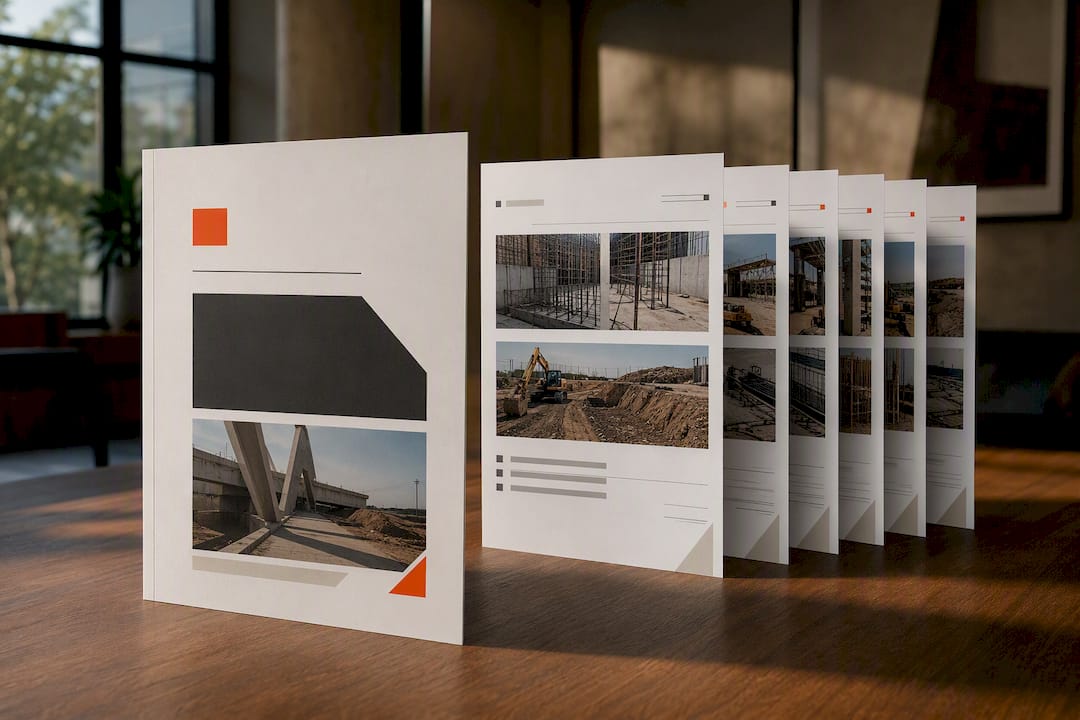
The cover page needs the project ID, the date range covered, who prepared the report, a version number, and contact information. Skip any of these and you’ve made the document harder to reference during a dispute six months from now.
Each photo page needs more than just an image. Here’s what separates a report page that holds up from one that gets questioned:
- A visible overlay showing date, time, GPS, and project ID.
- A caption naming the area, trade, and status (in progress, complete, deficient).
- A location reference tying the photo to a plan sheet or grid line.
- A linked item number if the photo supports an RFI or punch list entry.
- A short observation note, one sentence, stating what the photo shows and why it matters.
| Report component | What it must include |
|---|---|
| Cover page | Project ID, date range, prepared by, version, contact info |
| Photo page | Overlay, caption, location reference, linked RFI/punch item, observation note |
| Map page | Site plan with pinned photo locations |
| Timeline index | Chronological list of sessions with page references |
| Approval block | Sign-off line for the reviewing party |
For layout, two to four images per page usually reads better than a single oversized photo per page. Save annotations and markup arrows for photos tied to a specific deficiency or change, not every image in the set. A clean index at the front, matching the timeline, saves reviewers from flipping through forty pages to find one photo.
Export Options That Keep Your Metadata Intact
Not every export route protects the work you put into capturing and organizing photos. Some strip the very details that make a report defensible.
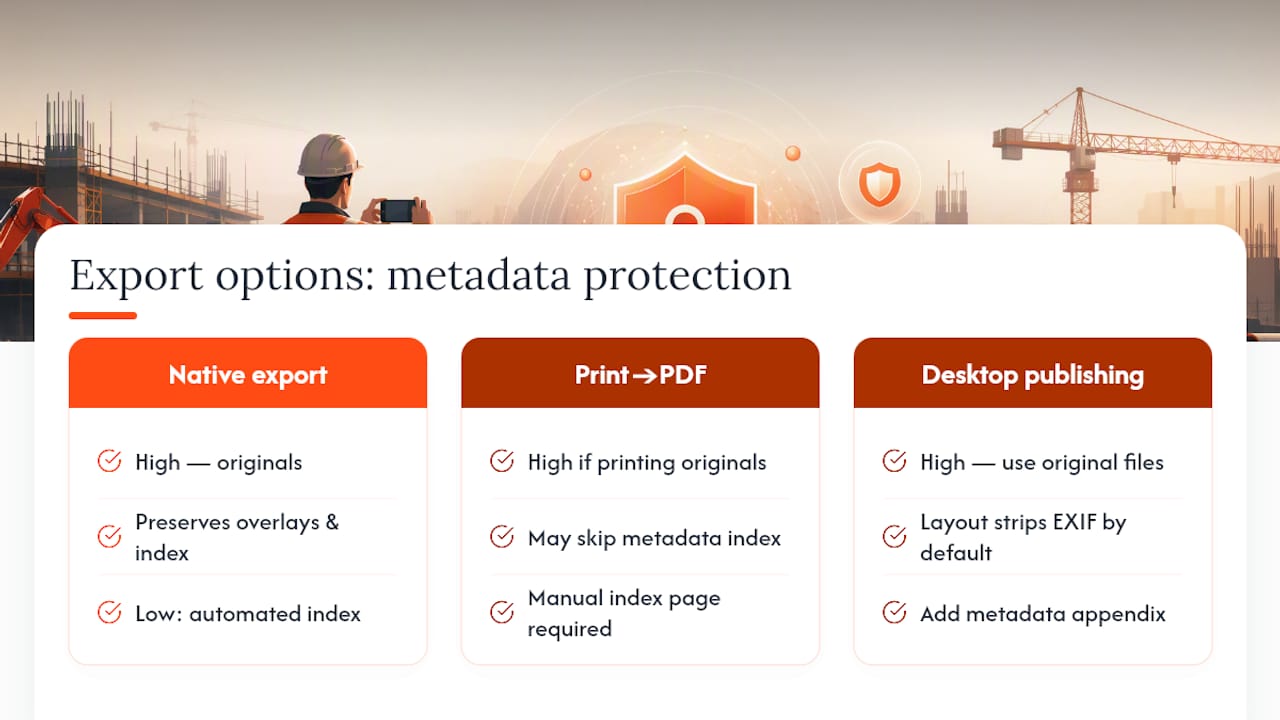
Native platform export is the fastest and most reliable option when your documentation software supports it. A platform built for jobsite photos, like Ditch, can export a tagged album straight into a client-ready PDF, complete with overlays and a metadata index, in a fraction of the time a manual build takes.
Print-to-PDF from a photo viewer works as a fallback if your platform doesn’t have a report builder. Make sure you’re printing high-resolution originals, not thumbnails, and add a metadata index page manually since a straight print job often skips it.
Desktop publishing tools make sense when you need specific branding or a layout your platform can’t produce. Always pull from original image files here, and append a metadata appendix listing GPS, timestamp, and project ID for each photo, since layout software strips EXIF data by default.
One route to avoid: exporting based on EXIF data alone. EXIF is frequently stripped in transit once photos move through email, texting apps, or cloud sync tools. Burn your overlays into the image pixels, or attach a verified metadata index alongside the export, so the record survives the trip intact.
Pro Tip: If a subcontractor sends you photos by text message, assume the GPS data is gone. Ask for visibly-stamped images or re-shoot the area yourself before it goes into the report.
Capture and Metadata Practices That Hold Up Later
A report is only as strong as the discipline behind the capture. Get sloppy here and no export tool can fix it afterward.
- Stamp every photo with visible overlays. Date, time, GPS coordinates, address, and project ID need to sit on the image itself, not buried in a metadata field that disappears in transit.
- Lock in folder and naming conventions. One folder per day per site, subfolders by area or trade. Never rename a file once it’s been stamped with a timestamp.
- Tag consistently and link to project records. Connect photos to RFIs, punch list items, or schedule activities inside your platform so context survives even if the caption gets separated from the image.
- Preserve chain of custody. Keep original files untouched, log every export, version your PDFs, and restrict access to people who need it.
- Protect image quality. Avoid destructive edits, keep original resolution, and attach supporting records like weather logs or inspection reports when a photo needs corroboration.
Visible-stamp workflows exist for a reason: visibly-stamped photos have held up in arbitration while EXIF-only images were excluded in the same proceeding. If your report might ever get pulled into a claim or dispute, that distinction decides whether your evidence gets used at all.
Why Metadata-Rich PDFs Change How Disputes Get Resolved
Consistent, stamped photo reports cut administrative back-and-forth because nobody has to chase down “when was this taken” or “which unit is this.” The AACE recommended practice has pushed this kind of procedural consistency for years, and recent research on automated construction monitoring shows AI tagging is closing the gap between capturing a photo and having it ready for a report. Fewer disputes, faster sign-offs, cleaner handovers.
— Will
Turn Your Jobsite Photos Into Client-Ready PDFs With Ditch
Ditch is the alternative to manual photo sorting and folder juggling: it reads and tags your jobsite photos automatically, groups them by location and time, and exports the whole record as a client-ready PDF without you touching a spreadsheet.
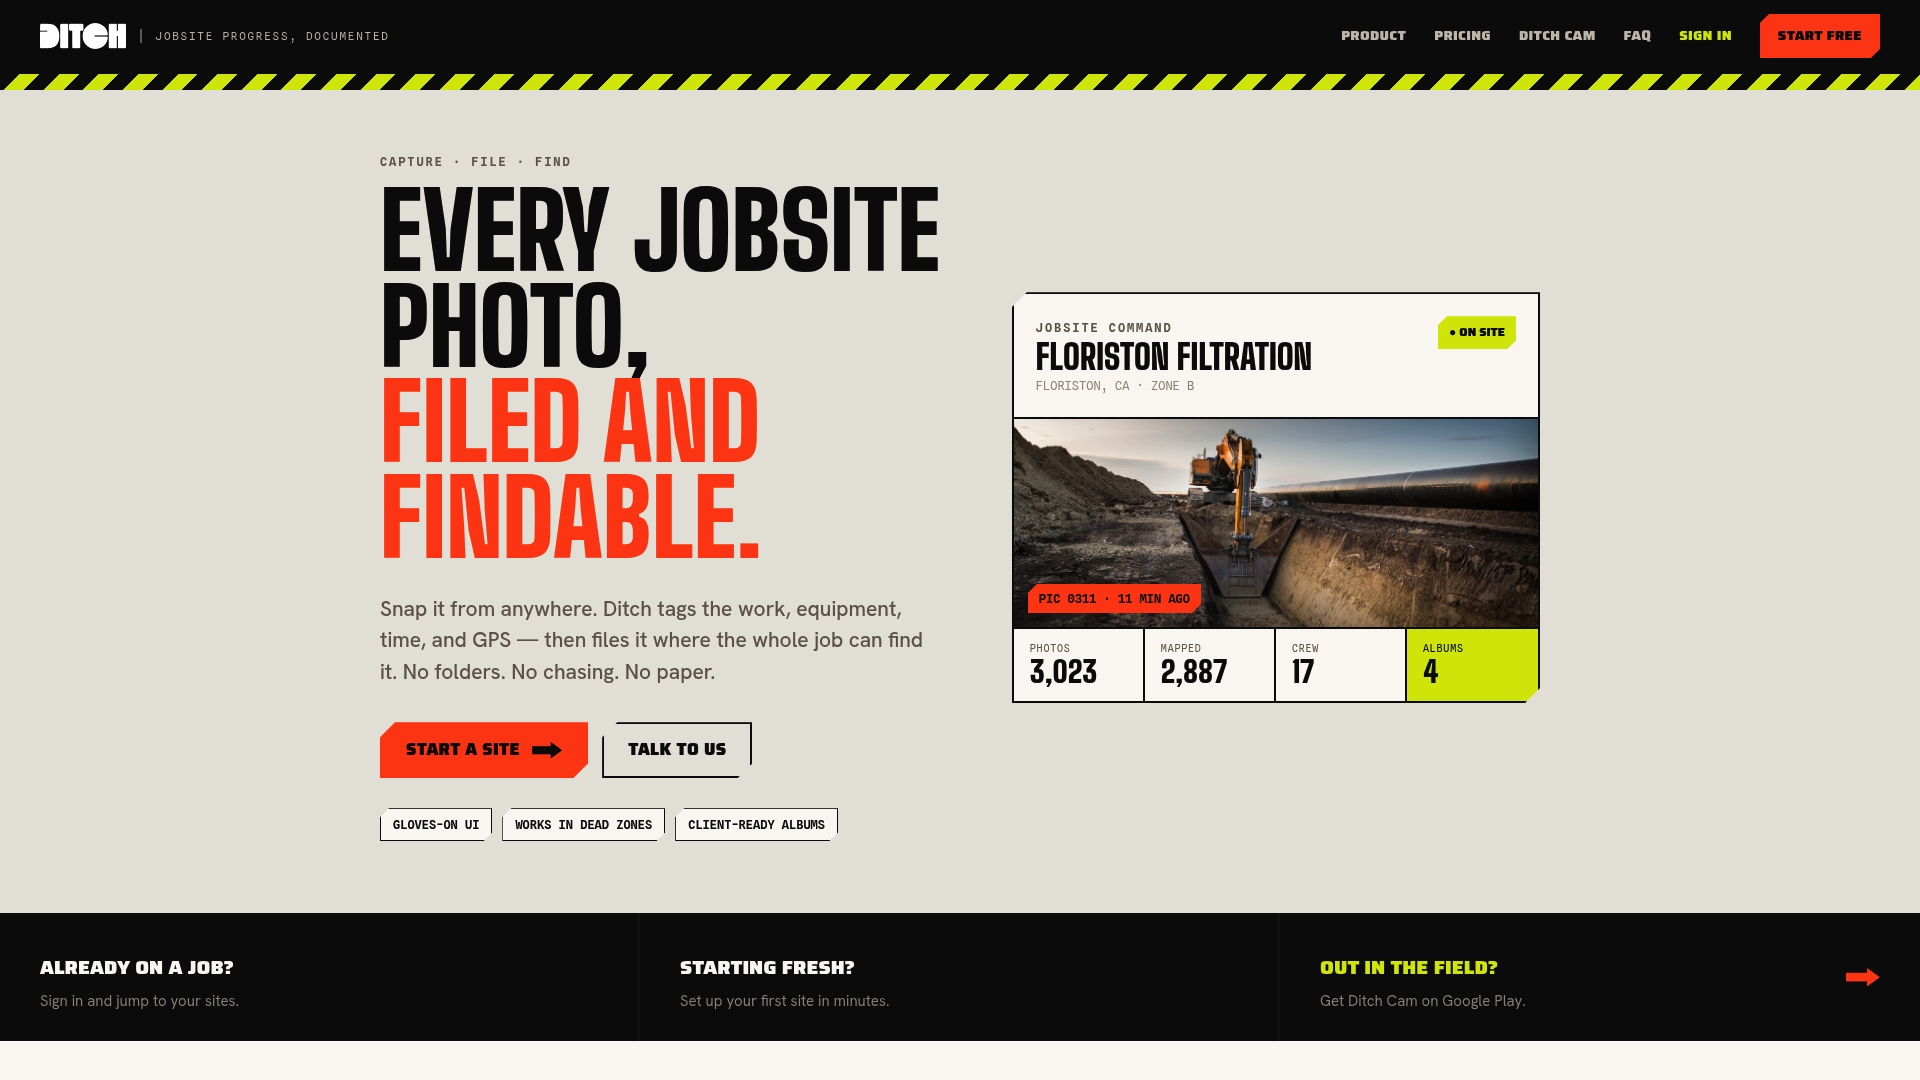
Every photo captured through Ditch gets tagged with equipment, GPS location, and work type on its own, and organized into map and timeline views your whole crew can search. When it’s time to build a report, you’re exporting an already-organized album with overlays intact, not hunting through a camera roll first. Pricing runs by jobsite and storage rather than per user, allowing unlimited team and crew access without incremental user fees. Check the plans on the pricing page, starting with a free plan for a single jobsite, and see how much faster your next report comes together.
Sources
- AACE International recommended practice for jobsite photography
- Automated construction monitoring based on computer vision: A comprehensive review
- Construction site photo documentation — The complete 2026 guide to GPS timestamped site photos | PolaroidCam Blog
- Master construction site photo documentation: A pro’s guide | TruTec Blog
FAQ
Can I Just Merge JPGs Into a PDF With Any Converter?
You can, but a generic merge tool won’t preserve searchable tags, GPS overlays, or a metadata index, which weakens the report if it ever supports a claim or dispute.
What Metadata Is Non-Negotiable on Every Photo?
Date, time, GPS coordinates, and a project ID need to appear visibly on the image itself, since EXIF data alone is often stripped when photos move through email or messaging apps.
How Do I Keep PDF File Size Manageable Without Losing Quality?
Export originals at full resolution, then compress the final PDF (not the source images) so overlays and details stay legible while the file stays easy to email or store.
Should I Password-Protect Jobsite PDF Reports?
Yes, especially for reports leaving your internal team. Encrypting the PDF and restricting access protects sensitive project details during distribution to clients, insurers, or subcontractors.
Does Ditch Handle the Full Export Process Automatically?
Ditch tags, organizes, and exports jobsite photos into a client-ready PDF from within the platform, so you’re not manually rebuilding albums before every report.