
Ditch / Field notes
5 Photo Weekly Audit: Construction Photo Report Template That Holds Up
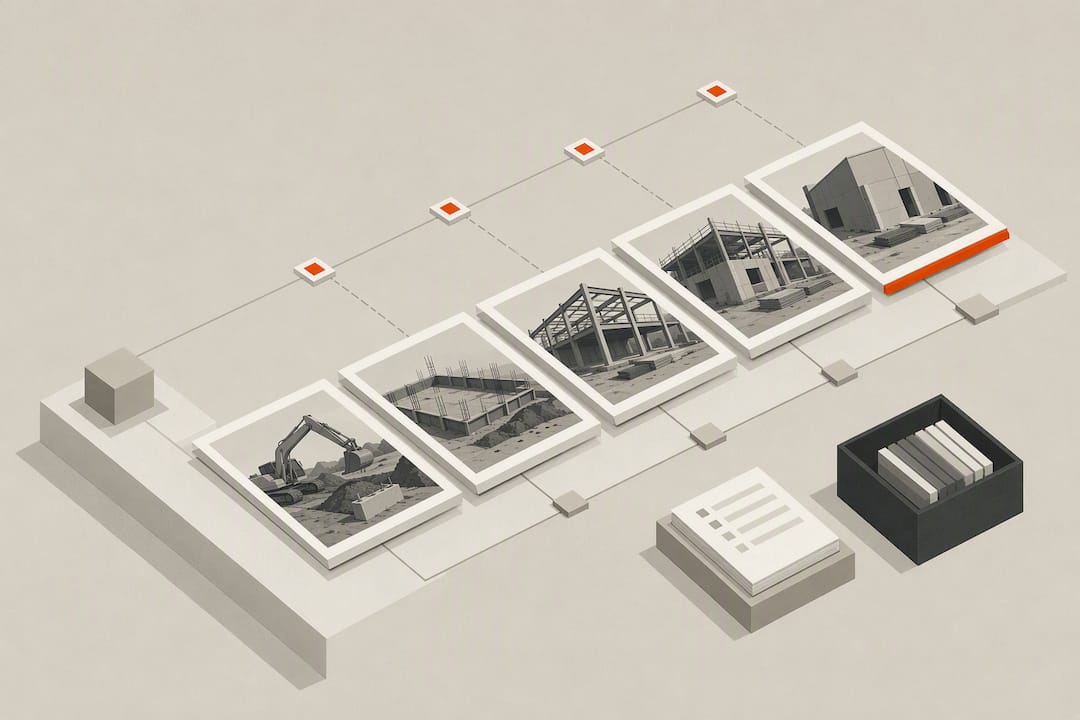
5 Photo Weekly Audit: Construction Photo Report Template That Holds Up
Use a template built around four elements: a project header, photos grouped by location or phase, per-photo metadata, and any supporting attachments. Every photo needs a visible timestamp, GPS coordinates, a project tag, and the original file preserved untouched. Don’t overthink the first one. Grab the structure below, shoot five photos on your next walkthrough, and run a quick audit before you send anything out.
TL;DR:
- Automated photo capture tools like Ditch record GPS, timestamp, and work type automatically, reducing manual entry and saving time during busy site days.
- Always include a visible site identification photo and reference plan or permit numbers in captions, as these simple habits greatly improve record defensibility.
- Conduct weekly audits on five randomly selected photos to verify timestamp accuracy, GPS presence, caption consistency, and backup integrity, preventing future disputes.
- Keep all original, unedited photo files stored securely for at least three years, especially when documenting structural or high-liability work, to ensure long-term evidence.
- Choose the right report format based on use, utilizing Word or PDF templates for formal submissions, forms for structured data, or app-based exports for automatic metadata preservation.
Table of Contents
- What Goes Into a Construction Photo Report Template
- The Seven Things That Make a Photo Defensible
- How Do You Turn Site Photos Into a Finished Report?
- Which Format Should You Actually Use?
- Your Weekly Photo Audit Checklist
- Why Automating Tags Saves Real Time on Big Crews
- What Most Teams Get Wrong About Photo Documentation
- A Faster Way to Keep Your Photo Records Straight
- Sources
- FAQ
What Goes Into a Construction Photo Report Template
A good photo report template isn’t complicated. It just needs the right fields in the right order so anyone (a lender, an inspector, a client) can scan it and understand exactly what happened, where, and when.
Start with a project header. This is the block at the top of every report:
- Project name and site address
- Report number and date range covered
- Author name and role (site inspector, PM, superintendent)
- Contractor or subcontractor contact info
Under that, group photos by location or zone, then by phase (rough-in, framing, finish). Each group gets its own short header so a reader can jump straight to the section they need.
Each individual photo needs its own row or card with these fields: the photo file itself, a one-line caption describing what’s shown, the visible timestamp, GPS coordinates or a written address, tags (trade, equipment, work type), and the name of whoever captured or witnessed it.
Name your files consistently. Something like 2026-03-14_2ndFloor_Framing_001.jpg beats IMG_4471.jpg every time you’re searching for it six months later. Keep a matching folder structure by date and zone. If the work ties to a specific drawing sheet or permit, note that reference number directly in the caption. It saves someone a phone call later.
The Seven Things That Make a Photo Defensible
A photo without proof of when and where it was taken is just a picture. It won’t hold up in a dispute, a lender draw review, or an insurance claim. Here’s what turns a snapshot into evidence:
- A visible date and time stamp. Camera clocks drift. Sync to atomic network time so your timestamp can’t be challenged.
- GPS coordinates plus a human-readable address. Coordinates prove location; the address makes the report readable to a human reviewer.
- A project or job tag embedded in the file’s metadata, not just the filename, so it survives copying and re-uploading.
- The original, unedited file, kept alongside any stamped or annotated version. Never overwrite the source.
- Two-destination cloud backup. One backup is a single point of failure.
- A retention baseline. Keep general records for at least three years, longer for structural or high-liability items.
- A weekly sample audit to catch missing fields before they become a problem.
This isn’t an arbitrary checklist. A seven-point standard covering date/time, GPS, project tags, atomic time, and backup redundancy has become the accepted baseline for defensible jobsite photo evidence, and it matches what lenders and insurers actually ask for during draws and claims. Programs like ResNet’s HERS® photo documentation checklist go further, specifying minimum required photos per component for certification compliance, which tells you how seriously photo evidence gets scrutinized once a project needs formal sign-off.
How Do You Turn Site Photos Into a Finished Report?
Building a report is a four-stage process: capture, tag, assemble, export. Treat it as a routine, not a scramble at the end of the week.
- Before work starts, shoot baseline photos of the site. Include a site-ID photo (a sign, address marker, or plan sheet) so context is unmistakable later.
- During work, capture milestone photos at each phase. Take one wide shot for context and one close-up for detail, and include something for scale (a tape measure, a known object) so viewers can judge size and progress.
- After work, shoot direct before/after comparisons from the same angle, plus any punch-list items and client walkthrough photos.
- Batch your captions and tags at the end of each day rather than photo by photo. Group everything into report sections by location and phase while it’s still fresh.
- Export as a PDF with an index page, or share a link if your reporting tool supports it. Either way, archive the original files separately from the polished export.
- Run a five-photo spot check before distribution. Pull five photos at random and confirm the timestamp, GPS, and caption all match reality.
Pro Tip: Shoot your site-ID photo first, every single day, before anything else. It costs you ten seconds and it’s the single fastest way to prove exactly which site and which date a whole batch of photos belongs to.
Framing matters as much as timing. A photo documentation quality checklist recommends checking focus, lighting, and context before you move on, and retaking anything blurry or ambiguous rather than hoping it’s good enough. That habit alone eliminates most of the disputes that come from a photo that “could be anywhere.”
Which Format Should You Actually Use?
The right format depends on how the report gets used and who’s reading it, not personal preference.
- Word or PDF templates work best for formal submittals, project close-outs, and anything that needs a signature block or cover page. A downloadable Word photo report template gives you a clean starting structure you can brand and reuse across projects.
- Form builders shine when you need structured field entry with conditional logic, like only prompting for issue details when a box gets checked. The Jotform job site photo report template captures visit date, field worker name, uploaded photos, and follow-up actions, and stores everything searchable in a table rather than a stack of PDFs.
- App-based exports preserve metadata automatically at the moment of capture, which matters most for crews shooting dozens of photos a day in the field.
Whichever format you pick, include a cover page, a photo index, and a signature block for sign-off. Grab a starting file, then adjust the fields to match your own project types.
Your Weekly Photo Audit Checklist
Reports fall apart quietly, not all at once. A missing GPS tag here, a renamed file there. A short weekly audit catches these before they pile up into a real problem.
Pull five random photos and check:
- Timestamp visible and accurate
- GPS coordinates present and correct
- Caption matches what the photo shows
- Original file still exists, unedited
- Backup copy exists in a second location
Common failures worth watching for: photos renamed by a phone’s auto-backup (losing the original filename), missing GPS because location services were off, and shots so tight or so wide they lose all context. Keep records at least three years, longer for structural components, and treat this weekly check as cheap insurance. Catching tagging and timestamp errors early prevents the kind of cascading record failure that turns into a denied claim or a stalled draw six months down the line.
Pro Tip: Assign the audit to a different person than whoever captured the photos. A second set of eyes catches context gaps the original photographer won’t notice, because they already know what the photo was supposed to show.
Why Automating Tags Saves Real Time on Big Crews
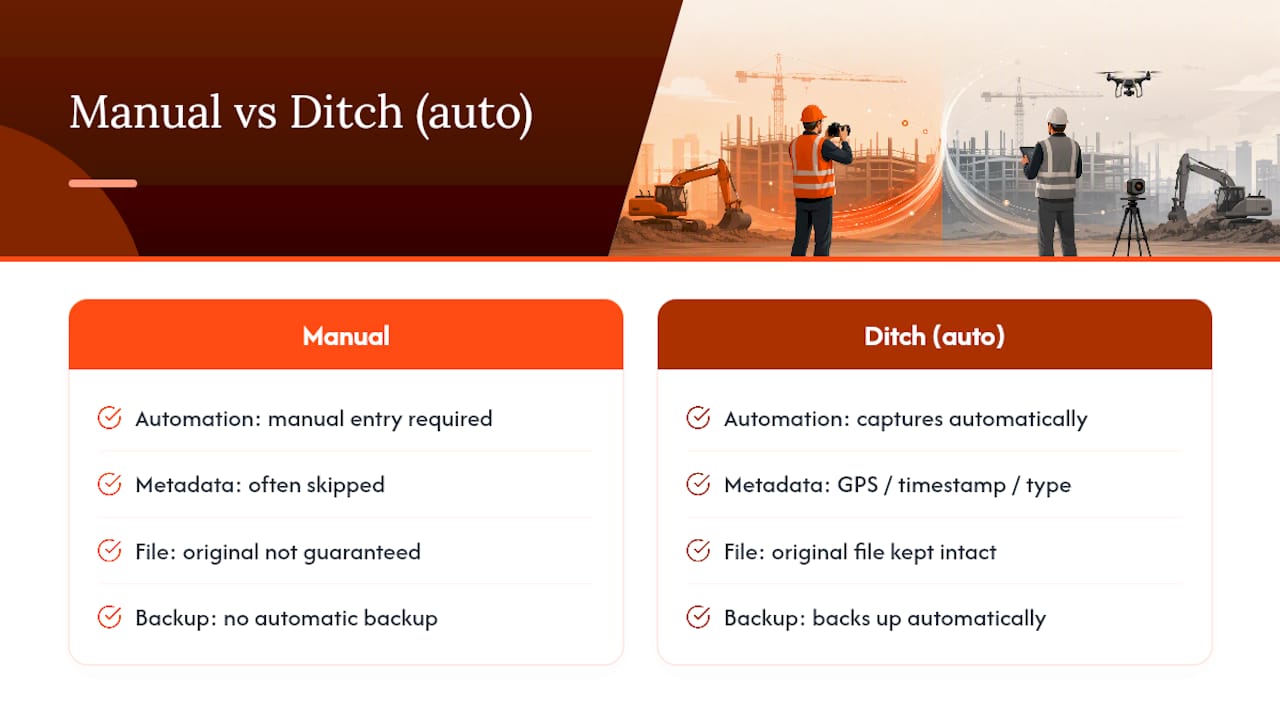
Manual captioning is the slowest part of this whole process, and it’s the part most likely to get skipped when a crew is busy. Automated tagging pulls GPS, timestamp, and work type at the moment of capture, so nobody’s typing captions from memory at 6 PM.
Look for these features in any tool you evaluate:
- Automatic GPS and timestamp capture at shot time
- Original file preservation, separate from any stamped version
- Backup to two destinations by default
- Search by tag, location, or equipment
- Map and timeline views for reviewing progress at a glance
Jobsite-based pricing (rather than per-user) also matters once your crew grows past a handful of people.
What Most Teams Get Wrong About Photo Documentation
Here’s what I’d tell any PM starting from scratch: your report is only as good as your worst habit, and the two worst habits I see are skipping the site-ID photo and ignoring the plan set.
Always shoot a site-ID photo first. It costs nothing and it settles arguments about location before they start. Second, reference the plan sheet or permit number in your captions whenever the work ties to a specific drawing. Reviewers trust a report that points back to the plan far more than one that just shows a wall.
None of this requires new software or a new process. It requires five extra seconds per photo and a five-minute audit once a week. That’s the whole system.
— Will
A Faster Way to Keep Your Photo Records Straight
Manual templates work, but they only work if someone remembers to fill in every field, every time. Ditch automates the parts most teams skip: it reads GPS, timestamp, and work type at the moment of capture, keeps the original file intact, and backs everything up automatically, so your report checklist gets satisfied without anyone typing a caption at the end of a long shift.
If you’re running one jobsite, the free plan covers it. Larger crews get unlimited team access with jobsite-based pricing rather than per-user fees, which matters once your crew grows past a handful of people. Check the Ditch pricing plans to see which tier fits your project load, or stick with a manual Word or form-based template if that’s what your team already trusts. Either way, the goal is the same: a photo record nobody has to second-guess later.
Sources
FAQ
What fields belong in a construction photo report template?
A project header (name, address, date, author), photo groups by location and phase, and per-photo fields for caption, timestamp, GPS, and tags.
How often should I audit my photo documentation?
Weekly, checking five random photos for timestamp accuracy, GPS presence, caption match, original file integrity, and backup status.
How long should I keep construction site photos?
Keep general records at least three years; extend that for structural components or anything with long-term liability exposure.
Should I use Word, a form builder, or an app for photo reports?
Use Word or PDF for formal submittals, a form builder for structured field entry with conditional logic, and an app-based tool like Ditch when you want metadata captured automatically without manual entry.
Does Ditch replace a manual photo report template?
Ditch automates the same fields a manual template requires (timestamp, GPS, project tag, original preservation) and exports reports directly, though manual templates remain a valid option for teams that prefer them.